What is CDN?
A content delivery network is a system of multiple servers located around the globe. It delivers cached static content (Images, CSS, JSS and Video) from websites based on the geographic location of the user.
When users access our website, all static resources are served through CDN Services. This reduces the loading time and makes our site fast and efficient. CDN helps to decrease latency by shortening the physical distance required for the data to travel. The main advantages of CDN are :
- Boost Websites Performance.
- Decrease the usage of bandwidth.
- Protect from Basic attacks.
- Increase SEO ranking.
- Cache resistance
- Improve User experience.
Steps to implement CDN service to the WordPress
- Choose and register with a CDN Provider
- Install any CDN plugin to WordPress. Eg: CDN Enabler
- Enable/Disable the settings as per our needs.
Best CDN Providers
There are many companies that offer CDN services. Here is a comparison of the most popular services.
| Sl. No | CDN | Main Features | Trial | Pricing |
| 1 | StackPath (MaxCDN) | · Firewall security · Free private SSL Certificate · DDoS Protection · Real-time analytics · Origin Shield |
No | $10/Month |
| 2 | KeyCDN | · Two Factor authentication · HTTP/2 · 24/7 support · DDoS Protection · Flexible · IPv6 support |
Yes
(15 days) |
$ 0.04/month |
| 3 | Cloudflare | · User-friendly Interface · Firewall Protection · Programmable API · DDoS Protection · Customizable cache expiration periods |
Yes
|
$20/month |
| 4 | Sucuri CDN | · Smart Cache · HTTP/2 · SEO protection · Real-time website malware checking · Remove Website malware · 24/7 support · Quarantine and backup files |
No
|
$199.99/year |
| 5 | CDN77.com | · HTTP/2 · Free SSL · CDN Logs · Traffic, Performance, Bandwidth Overview · Customizable cache rules · IP & Geo Whitelisting/Blacklisting |
Yes
(14 days) |
0.045/GB |
| 6 | Amazon CloudFront | · DDoS Protection · SSL/TLS Encryption · Customizable · Network Optimization |
yes | $0.085/month
|
| 7 | Microsoft Azure | · Massive Capacity · Developer-Friendly · Robust Security · Advanced Analytics |
Yes | $0.081/GB
(Monthly) |
Let us check how to set up CDN in WordPress with KeyCDN
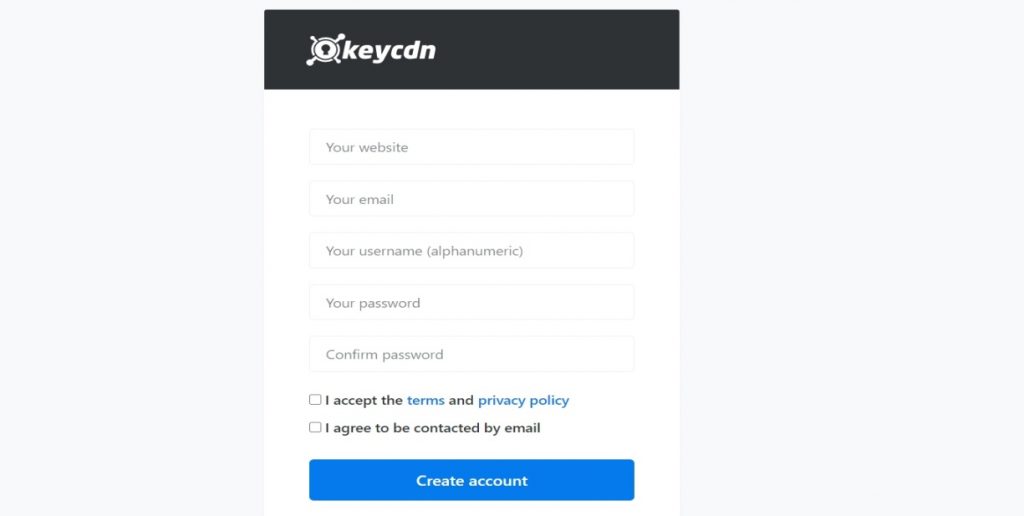
Create an account in Keycdn by visiting their official website – https://www.keycdn.com/. There is 14 days trial period is available in KeyCDN.
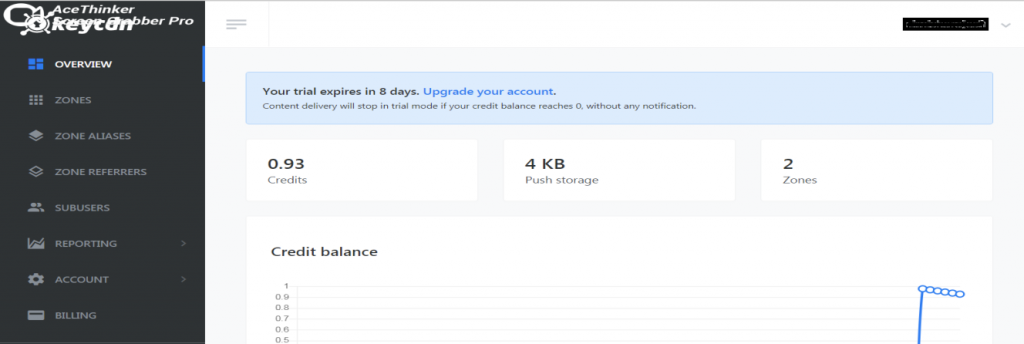
After creating the account you get an activation mail to your mail account. By activating you will be redirected to your KeyCDN dashboard.
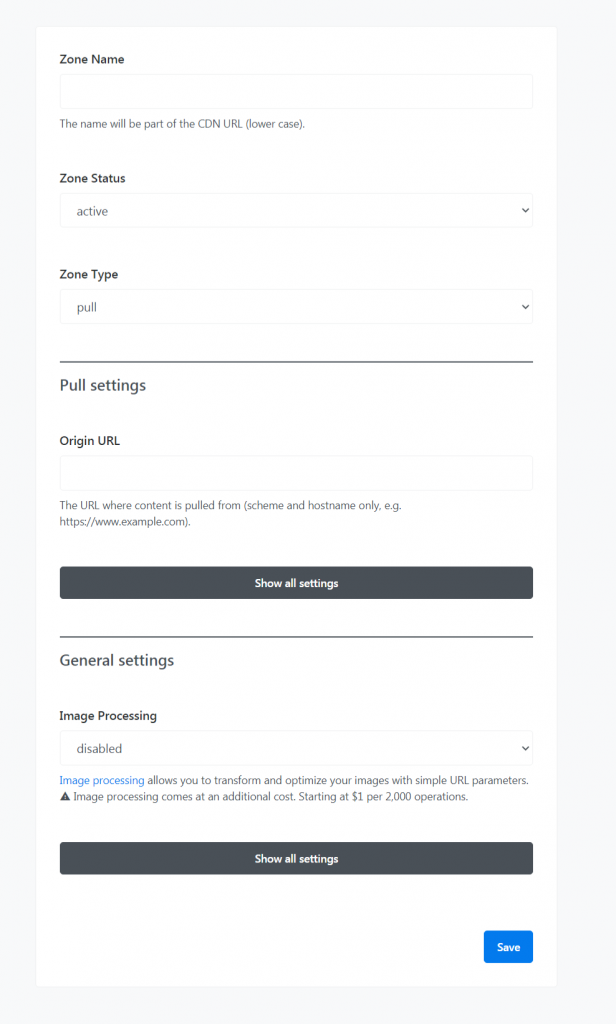
Then click on Zones from the left menu. Then add a zone for your website to generate a CDN URL.
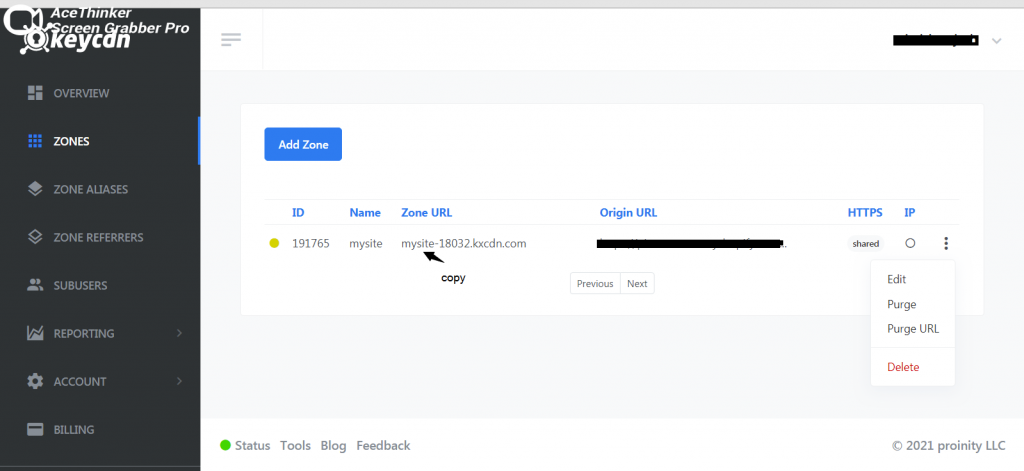
After saving the created zone, click on the 3 dots and select the Purge option. Copy the Zone Url for integrating it with the WordPress plugin.
Install and activate CDN Enabler Plugin on your WordPress site. Click on settings and select CDN Enabler.
Paste the CDN URL that you have copied from KeyCDN to the CDN Hostname box and save it. After this, the URL of the images, CSS, and JS will be changed. For further information on Keycdn configuration please visit https://www.keycdn.com/support/tutorials.
Conclusion
Content Delivery Network is a simple and affordable method to make our website secure and fast. All the above CDN services are good. We need to choose as per our requirements
References
- https://sucuri.net/
- https://www.keycdn.com/
- https://www.dreamhost.com/wordpress/guide-using-a-cdn-with-wp/
- https://wordpress.org/plugins/cdn-enabler/
- https://makeawebsitehub.com/best-cdn-wordpress/
- https://www.stackpath.com/
- https://www.cloudflare.com/
- https://www.cdn77.com/
- https://aws.amazon.com/
- https://kinsta.com/
- https://www.monsterinsights.com/


